
 July 12, 2014
Analogue is good. Overlay that with plastic and you get something great!
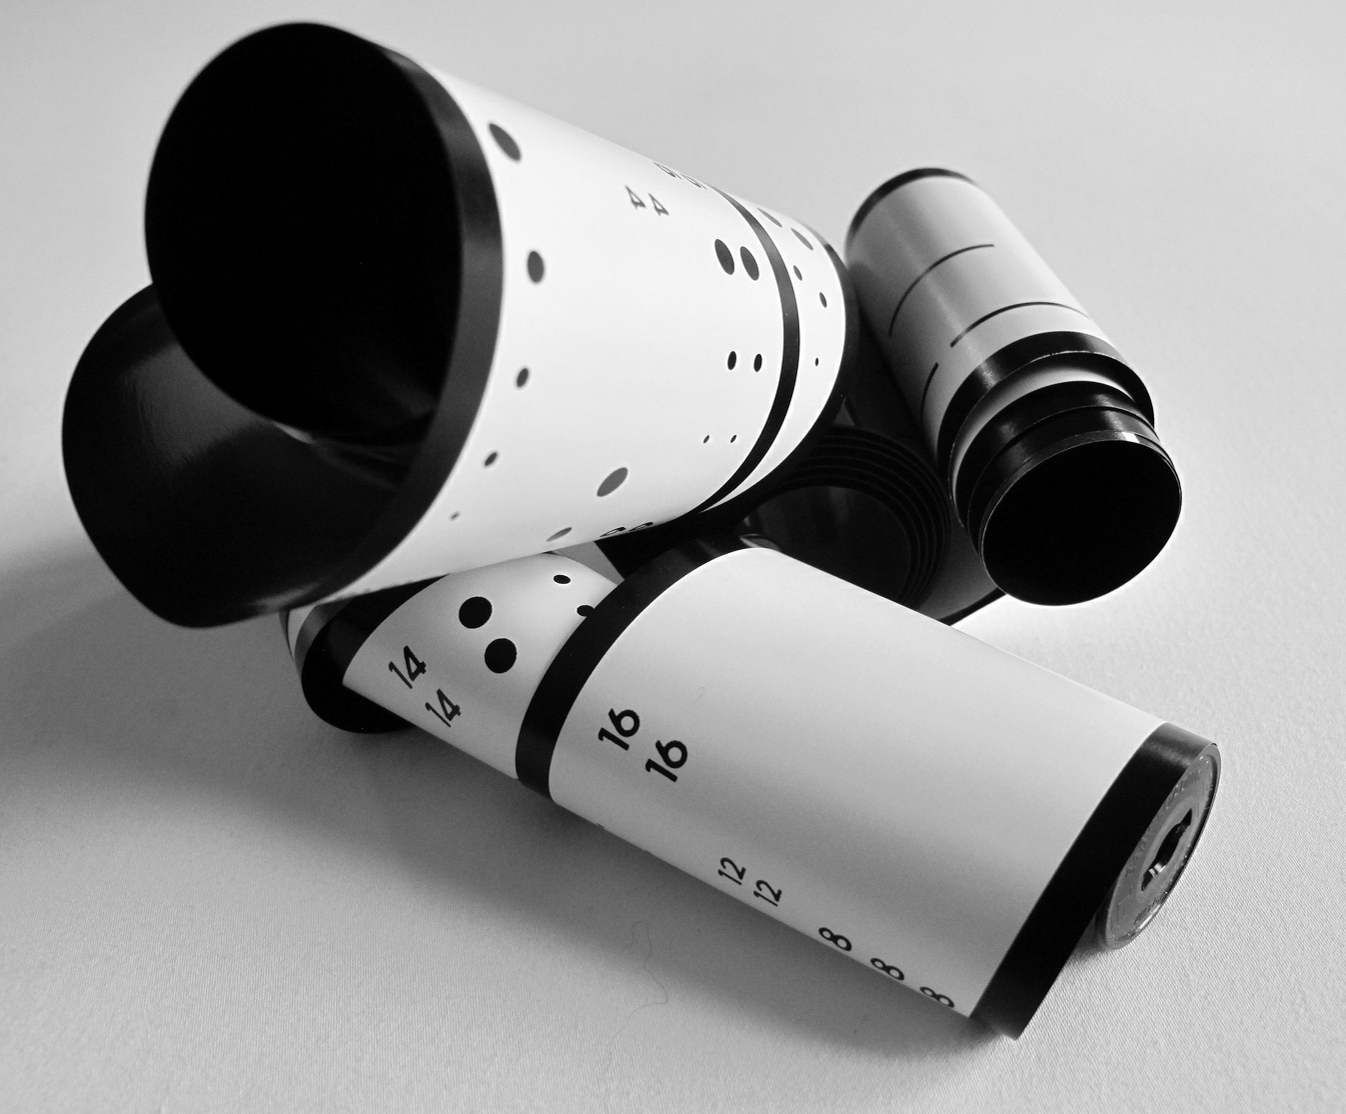
Holga cameras were designed and started manufacture in China during the heady days of the early ’80’s. I suppose they were manufactured as a super economical camera suitable for a radiant socialist future. The are a medium format camera – ie. they take film like this :
 Holgas consist of three cents worth of cheap black moulding, a two cent plastic lens, and a couple a metal springs to make the shutter work. You won’t die wondering why they are called “toy cameras” once you get one in your hand. Holga along with Diana were responsible for the genesis of the whole toy camera genre.

This is the Holga you want, not the 35mm version.
The Holga should have outlived it’s usefulness once cheap digital cameras became available to the comrades. Luckily, Western photographers kept discovering the Holga, and buying them. Toy cameras are much loved by modern photographers and poseur hipsters for their low tech approach. Normally kitted out with a plastic lens, they can give dreamy and unique effects without the predictable boredom of Photoshop.
What do you need to get started?
- A camera – You can pick one up on Ebay for under $30 from Hong Kong. Make sure you buy the medium format / 120 film, not one that takes 35mm. You will be missing a big part of the experience in 35mm.
- Some film – grab some medium format ISO 400 colour C41 film. Either Fujicolor PRO400H or Kodak Portra 400. It can run at around $10 a roll. Expired film is OK if it is less than 12 months out of date.
- An outdoors scene.
The Holga is perfectly set up with 400 speed film and a nice sunny or brightish day. Regular C41 negative film is the most forgiving if the light conditions are no perfect. Slide film needs much more precise light conditions to produce a great image.
When your shiny new Holga turns up, check the tightness and seal around the side clips that secure the film door. I do not recommend using a strap if you attach it to the lugs on the side clips. These little fellows have a well established history of popping the film door open at inopportune moments. Many Holga enthusiasts actually tape up the film door each time the load film to prevent this, and general light leaks.
Minor light leaks are a treasured and sought after feature for many Holga types – giving the resulting images a pattern of light that is a virtual fingerprint of the camera.
There are plenty of websites that can help you with loading film etc. that are much more informative than anything I will ever write.
Squarefrog – Life through a plastic lens. Some great tips and advice on “how to”
Freestyle Photo – online US store that has plenty of bits, accessories, and film. Highly recommended.
Freestyle have this great manual on Holgas which I can’t quite work out if I am allowed to post here or not. But here it is.
It answers every question on “how to” that I can imagine…
Make sure you buy your Holga and film from them if you love it. Here are some links to what you need to buy on the Freestyle site.
Lomography – A bit of a culty analogue camera company. They have a sensational range of toy cameras, some of which are exclusive to them. Can be a bit expensive though. And disliked by many photographers for… being successful in promoting film? I think Lomo haters are driven by their marketing strategy of selling mostly to hipsters who use their cameras twice and do a shitty job of composition. I am neutral – have bought a couple of their cameras and loved them, but am not exactly an acolyte. Polarising.
What can you expect from your Holga?


Holga image is on the left. Both are similar images from Footscray Station. The Holga image has a very attractive natural vignetting (dark edges, light middle). The plastic lens is also delivering a sharper image at the starting point of the hand rail and more “dreamy” elsewhere. The Mamiya 7 image on the right is sharper and more even across the image, although there is also a little “post” vignetting due to pumping up the blacks in Lightroom.
The difference should be fairly obvious now. The Mamiya 7 image is pretty sharp, and looks great. The Holga is technically a poor quality image, but is still aesthetically pleasing.


More composition tips…
Negative Space. A smaller, focused subject with a plain background that makes up the majority of the shot.
Landscapes can work surprisingly well.
Most Holgas shoot in square format. I often find that a centrally placed subject rather than using the rule of thirds can work extremely well.
Getting close is good. Bright colours. Things that have a retro look often come up nicely. If you get one with a flash, it works pretty well at night.
Try photographing everyday things on the street – but make sure there is a definite single feature. It may come out nice and funky!
Recommendation
Holgas are great street cameras. Filmy, dreamy goodness in the images, and simplicity in operation. When you have a holga in your hand, there are zero technical issues distracting you. Your focus becomes on “seeing” potential images that might look great on the camera. Taking a holga out occasionally will make you a better photographer.
It is a great way to try medium format film. There is very little that can go wrong – excepting a film door malfunction. Holgas are just a few grams of plastic. So you can put one in your bag and it just takes up space, but doesn’t add to the weight.
The down side is that you need to get film, process the film, and either scan the film or get them developed into paper photos. The upside is that at least you can go to the Lomo crew to get this done at first – they will hold your hand.
No focus, no real aperture to speak of – it is quick and simple. Sometimes a bit slow on the speed for darker street conditions, but on bright days – overcast or sunny – the Holga is great.
Buying Guide
There are a whole swag of different Holgas.
Flash. Coloured Flash. Pinhole. TLR version. Panoramic. Custom coloured. Old style 3D. Glass Lens. A 35mm version. Modified Holgas. Just to name a few. It is tempting to try a few different things, as none of them are going to break your budget unless you are quite the starving artist.
There are a plethora of attachments, gadgets, and gee gaws for Holgas. Give them a go – they are all pretty cheap. Most of them work pretty well. Filters are a pretty good start, along with the fisheye attachment.
One of the grooviest thing to use a Holga for is infrared medium format – but that is for another post.
Here is a gratuitous gallery with notes on technique for some shots.


Trackbacks/Pingbacks
[…] can read more about Holgas here and […]
LikeLike
[…] Without boring you to the point of insanity, one of the most formative exercises I did was take a Holga plastic toy camera and a bunch of film with me to work one day. I shot what I saw all day, from the early morning […]
LikeLike
[…] You can read more about Holga Cameras here. […]
LikeLike